


Table of Contents
- Find E-Bike Charging Stations in Lower Austria: Here's How
- Map of E-Bike Charging Stations in Lower Austria: How to Use Digital Maps Effectively
- E-Bike Charging Stations in the Waldviertel: Where to Charge Your Bike in the Region
- Check the plug type of your e-bike charging station: Ensure compatibility before setting off
- Planning an E-Bike Tour with Charging Stops: Range, Charging Time, and Route Profile
- Costs, Access, and Terms of Use for Charging Stations
- Avoid Common Mistakes When Searching for Charging Stations
- Step by Step: Finding and Using a Charging Station
- Conclusion: Travel stress-free with good planning
- Frequently Asked Questions
Last updated: October 13, 2026
Find E-Bike Charging Stations in Lower Austria: Here's How
Anyone who rides an e-bike through Lower Austria is familiar with the question: Where can I recharge my battery? There are more than 230 charging stations for e-bikes in Lower Austria, located along bike paths, in municipalities, and at businesses. At Apartments Gutenbrunn We hear this question from our guests almost every day, since many of them plan their bike tours starting right from our lodging in the Waldviertel. This guide will show you how to find e-bike charging stations in Lower Austria, which plugs are compatible, and how to properly incorporate charging stops into your route.
What You Should Know Before You Start Your Search
Not every outlet is a charging station. Many e-bike charging stations are simple charging points with a standard household outlet, while others offer multiple outlets and tools. Before you set off, clarify three things: What type of plug does your charger need? How long does it take to fully charge the battery? And how far do you plan to ride?
Most rechargeable batteries fully charge in two to four hours when plugged into a standard outlet. A 30-minute quick charge is often enough to provide enough range for the next leg of the trip.
Always bring your own charger. Most charging stations only provide an outlet, not a charger. Without your own charger, you'll be standing in front of an outlet that's of no use to you.
Map of E-Bike Charging Stations in Lower Austria: How to Use Digital Maps Effectively
The quickest way to find an answer is to check an online map of e-bike charging stations in Lower Austria. These online maps show charging stations along with their addresses, connection types, and often their hours of operation. They’re the best place to start when planning a trip.
The best-known sources are:
- Regional cycling maps and cycling map brochures from local municipalities
- Online maps from tourism associations
- Apps for bike tours with a filter for charging stations
- Posters and brochures in communities and businesses
Before you leave, always check to see if the information is still up to date. Locations change, businesses close, and not every map is updated regularly.
Combining Online Maps and Cycling Maps
A good cycling map shows you the bike path; an online map shows you the charging station. Combine the two. First, find your cycling route; then mark the charging stations along the way and note their hours of operation and distance from the route.
The result is a route plan that not only looks great but also works even when the battery is running low.
E-Bike Charging Stations in the Waldviertel: Where to Charge Your Bike in the Region
The Waldviertel is a popular cycling destination, and the charging infrastructure is expanding. You’ll find charging stations in towns and villages, as well as at inns, restaurants, and businesses along the bike paths.
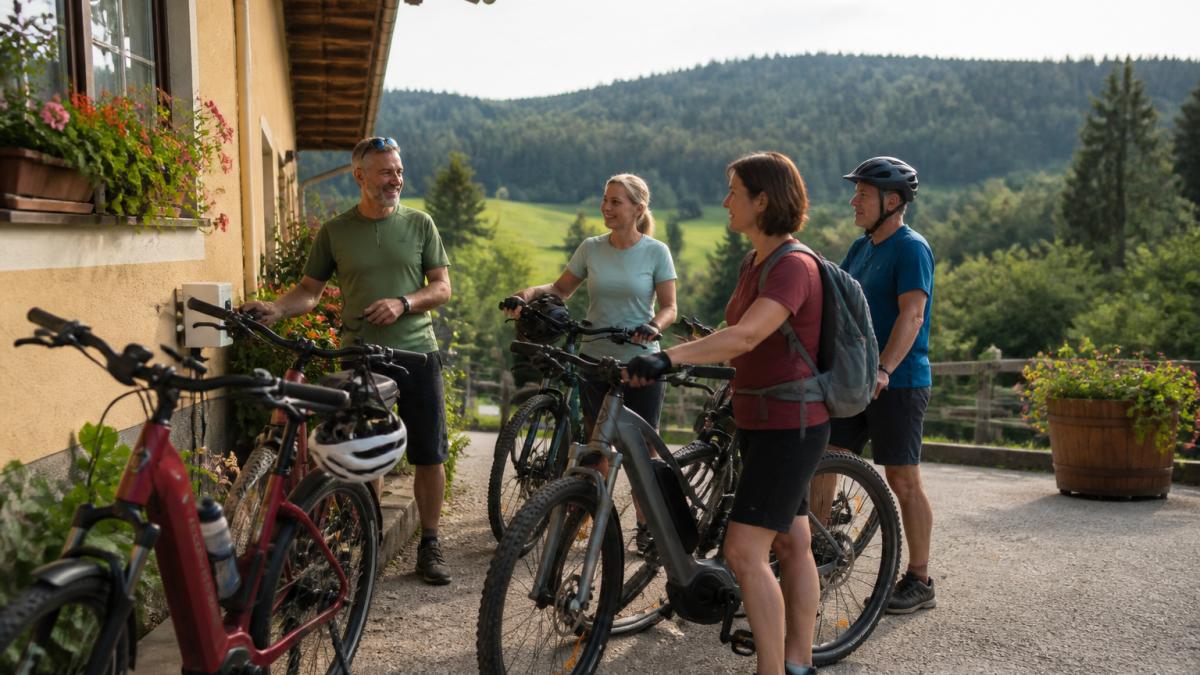
The distribution varies. In larger towns, there are usually several loading areas, while in small villages there is often only a single connection at the tavern.
Charging stations in towns, municipalities, and at businesses
Many towns set up charging stations right in the town square or along the bike path. Restaurant owners often offer their guests a power outlet during their break. Just ask. Charging stations are often available, even if they aren’t marked on every map.
| Location of the charging station | Typical Approach | Best suited for |
|---|---|---|
| Community Square | Public, often free of charge | A short break to recharge now and then |
| Inn or Restaurant | For guests, during their break | A longer break with a stop for refreshments |
| Bike Path Station | Public, signposted | Fast recharging on the go |
| Business or Hotel | For Customers and Guests | Overnight Stay and a Full Charge |
Free charging stations are common, but they aren't guaranteed everywhere. Some businesses charge a small fee or require you to buy a snack.
Check the plug type of your e-bike charging station: Ensure compatibility before setting off
The most common reason a charging session fails is a missing or incorrect connection. So before every trip, check which plug your charger needs and whether the station is compatible. This point isn’t explained at all in most location lists and maps—yet it determines whether a charging stop will work at all.
What Really Matters in a Charging Station
With an e-bike charging station, it almost never comes down to the battery connector—it’s all about the power plug on your charger. Here’s how the setup works:
- The station provides an electrical outlet (usually a grounded outlet, Type F, with 230 V AC and 50 Hz).
- Your charger converts this voltage into the DC voltage your battery needs.
- The plug on the battery end is manufacturer-specific and stays at home on the charger—it is not relevant at the charging station.
So the key question is: Does your charger’s power plug fit into the outlet where you’re using it? This is the case for the vast majority of e-bike chargers sold in Austria, because they come with a grounded plug. The only issues arise with imported chargers that use a different plug system or with travel chargers that require an adapter.
The four things you should take care of before you leave
- Power plug: Protective contact (Type F) or another system? Just take a look at the plug.
- Voltage and Frequency: Your charger must be rated for 230 V and 50 Hz. Devices designed only for 110 V will not work here.
- Charging power: Most e-bike chargers draw between about 2 A and 4 A. A standard household outlet with a 16 A fuse can handle this easily—which is why a single outlet is sufficient at most charging stations.
- Battery connection: This is only relevant if you're bringing a second charger or an adapter. The plug on the battery must fit your battery, not the charging station.
Why Most Stations Offer Only One Can
Many e-bike charging stations are intentionally kept simple: a protected outdoor outlet, often with weather protection, sometimes with a multi-outlet strip. That’s enough, because a charger rarely draws more than a few hundred watts. You’ll find multiple outlets primarily in places where several bikes need to be charged at the same time—such as at larger bike path stations or at businesses that rent out e-bikes.
Never charge your battery with a charger that isn't yours or isn't designed for it. The wrong charger can damage the battery or, in the worst case, cause a fire. Use only the charger that came with your e-bike—even if the plug fits the outlet at the charging station.
Adapters and Power Strips: Useful or Risky?
A travel adapter for the power plug is no problem as long as it’s rated for 230 V. A power strip can be handy if you want to charge two devices at once—but make sure the charging station allows it and that the circuit has sufficient protection. Extension cords should only be used if they’re suitable for outdoor use and the charging station doesn’t have its own outlet within reach.
Take a photo of your charger's plug and note down the voltage and current draw (listed on the nameplate). That way, when you call the service provider, you can quickly determine whether charging is possible.
What this means for trip planning
If you know that your charger uses a grounded plug and operates at 230 V, you can plan to use almost any station that has a standard outlet. The question of compatibility thus boils down to two things: Is there an outlet available, and are you allowed to use it? Both can be clarified in advance by phone or by checking the information on the map—and that’s exactly what makes the difference between a relaxing trip and one that ends with a locked outlet.
Planning an E-Bike Tour with Charging Stops: Range, Charging Time, and Route Profile
Planning an e-bike tour with charging stops means balancing three factors: range, charging time, and route profile. Once you know these three, you can plan with ease.
Range depends heavily on the route. Flat stretches use less power, while steep climbs use more. The rider's weight, the assist level, and the temperature also play a role. Therefore, always allow for a margin.
The charging time determines how long your break will last. Allow at least 30 to 60 minutes for a significant partial charge.
Incorporate charging stops into your route in a practical way
Plan your charging stops for places where you would take a break anyway. A restaurant with an outlet is ideal because you can charge your vehicle while you eat.
Here's how to plan your route step by step:
- Divide the route into stages of 30 to 50 kilometers
- Look for a charging station at the end of each stage
- Check the hours of operation and transportation connections
- Plan for a break of 30 to 60 minutes
- Keep a spare charging point on hand
This schedule works well for families with children because the breaks are longer anyway.
Costs, Access, and Terms of Use for Charging Stations
Most location lists tell you where a charging station is—but not whether you’re allowed to use it or how much it costs. Yet it’s precisely this information that determines whether a charging stop will work out. Here’s the systematic approach that’s missing from standard directories.
The Four Access Models You Should Be Aware Of
- Public and freely accessible: The box is located in the town square, along the bike path, or at a public station, and is accessible 24 hours a day. No key, no registration, no conditions.
- Public, but with restrictions: The box is only accessible at certain times—such as during the opening hours of a municipal office, a museum, or a parking lot. Outside of these hours, it won't be of any help to you.
- For guests and customers: The container is located in a restaurant, café, hotel, or business and is intended for guests. The rule here is: consumption or an overnight stay serves as payment.
- For members or registered users only: Some stations require registration, an app, or a key. This is rare at e-bike charging stations, but it does happen at larger bike stations.
What „free“ Means in Practice
When it comes to e-bike charging stations, “free” almost always means that there is no charge for the electricity. It does not mean that there are no conditions. The most common scenarios are:
- Truly free: Public outlet, no strings attached. Just plug it in and charge.
- Free for guests: You are asked to buy something. This is not a fee, but an expectation.
- In exchange for a donation or a small contribution: Some operators set out a collection box with a note asking for a donation. The amount is voluntary, but it is customary to contribute.
- Only when consumed: You are not allowed to shop without making a purchase. This is the most common rule at restaurants.
If in doubt, ask. A quick call to the restaurant or the local municipality will almost always clarify whether you’re allowed to charge your vehicle and what the conditions are. At public charging stations, it’s worth checking the on-site instructions—there’s often a sign with the terms of use right next to the charging port.
Hours of Operation, Keys, and Contact Persons
The most common reason a planned charging session fails is not a lack of electricity, but a lack of access. That's why you should include three things in your planning:
- Hours: When is the restaurant open? For restaurants, days off are the classic stumbling block.
- Access route: Is the can freely accessible, or is it behind a gate, in a courtyard, or inside a building? Does someone need to unlock it?
- Contact: Who is in charge on site? At an inn, it's the innkeeper; at the town square, it's often the town hall; at businesses, it's the front desk.
For each planned charging station, make a note not only of the location but also of the hours of operation and who to contact. That way, you’ll know before you leave whether the stop will actually work—rather than finding out only when you’re standing right in front of it.
Behavior on Site: What Operators Expect
Anyone who uses a trash can should follow a few simple rules. They’re rarely written down, but they’re generally accepted:
- Ask before you hang anything up—especially at businesses.
- Be sure to take your charger with you after charging.
- Please leave the area just as you found it.
- Don't block the charging station any longer than necessary if others want to charge their vehicles.
- Please report a malfunction if the can doesn't work—this will help the next guest.
What this means for your route
Plan your charging stops preferably where you would take a break anyway: at an inn, a café, or a town square. Access is usually straightforward there, and the conditions are clear. Stations located exclusively on bike paths are convenient for short stops, but check beforehand whether they’re open to the public and whether you’re allowed to charge there without registering. If you clarify these three points—access policy, hours of operation, and conditions—before your ride, you won’t encounter any surprises along the way.
Avoid Common Mistakes When Searching for Charging Stations
The biggest mistake is assuming that every outlet is an official charging station. Not every location listed on a map is still in operation.
Other common mistakes:
- Forgot the charger at home
- Opening hours not verified
- Not enough buffer was factored into the range estimate
- Plug type not checked
- Only one charging station planned
Always plan for a backup charging station. If the first one doesn't work or is closed, the second one will save your trip.
Step by Step: Finding and Using a Charging Station
Here's how to find and use a charging station without any detours.
- Set the route. Determine your route and the planned stops.
- Open the map. Search for charging stations along your route on an online map.
- Check the location. Check the address, hours of operation, and access information.
- Balance the connection. Check to see if your charger is compatible.
- Go there. Head to the charging station at the end of the stage.
- Ask questions. Check with the operator for permission and conditions.
- Loading. Plug in your charger and charge for 30 to 60 minutes.
- Keep driving. Bring your charger with you and continue your trip.
For guests staying with us in the Waldviertel, planning is easier: From Ferienwohnungen Gutenbrunn, you can quickly reach many bike paths and charging stations in the area. We’re happy to help our guests choose routes and provide tips on charging options along the way.
Take a photo of the charging station and write down the address the first time you use it. That way, you'll be able to find it more quickly next time.
Conclusion: Travel stress-free with good planning
A ride on an e-bike stands or falls on the planning. If you know the range, charging time, and charging stations in advance, you can ride stress-free and without worrying about your battery.
This is exactly the kind of peace and quiet many of our guests are looking for. At Ferienwohnungen Gutenbrunn, families, wheelchair users, and dog owners will find barrier-free accommodations with personalized service from Anna and Herbert. Our four apartments, each with a kitchen-diner and bedrooms, are situated in a quiet location in the Waldviertel region and serve as an ideal base for hiking and biking trips. Book directly with us and start your next adventure from Gutenbrunn.
Frequently Asked Questions
How do I find e-bike charging stations along my route?
Use online maps and cycling maps that list charging stations. Enter your planned route and check which towns, municipalities, or businesses offer charging stations. Combine digital maps with regional cycling maps to identify gaps. Plan charging stops at places where you’d like to take a break anyway, such as at an inn or a tourist attraction.
What information should I check before driving to a charging station?
Check in advance the plug type, operating hours, and whether you’ll need to bring your own charger. Many charging stations require you to bring your own charger. Also, check whether use is free or if there are any conditions that apply. A quick look at current availability and on-site amenities will save you unnecessary detours.
Can I charge my e-bike at any charging station?
Not every charging station is compatible with every e-bike. The plug type and battery compatibility are key factors. Some stations offer only certain connectors or require an adapter. Therefore, check before you leave to make sure your charger is compatible with the connector type offered. If in doubt, ask the operator or choose a station that’s compatible with your system.
How do I plan charging stops for an e-bike tour?
Take your range and battery charging time into account. Plan charging stops at locations that are already on your route, such as halfway through the trip. Keep in mind that charging times vary depending on the battery and charger. A charging break can easily be combined with a stop for a meal or a visit to a tourist attraction.


Comments are closed, but trackbacks and pingbacks are open.